Kite Flying for Beginners: Your First 10 Steps to Launch, Fly and Land Safely
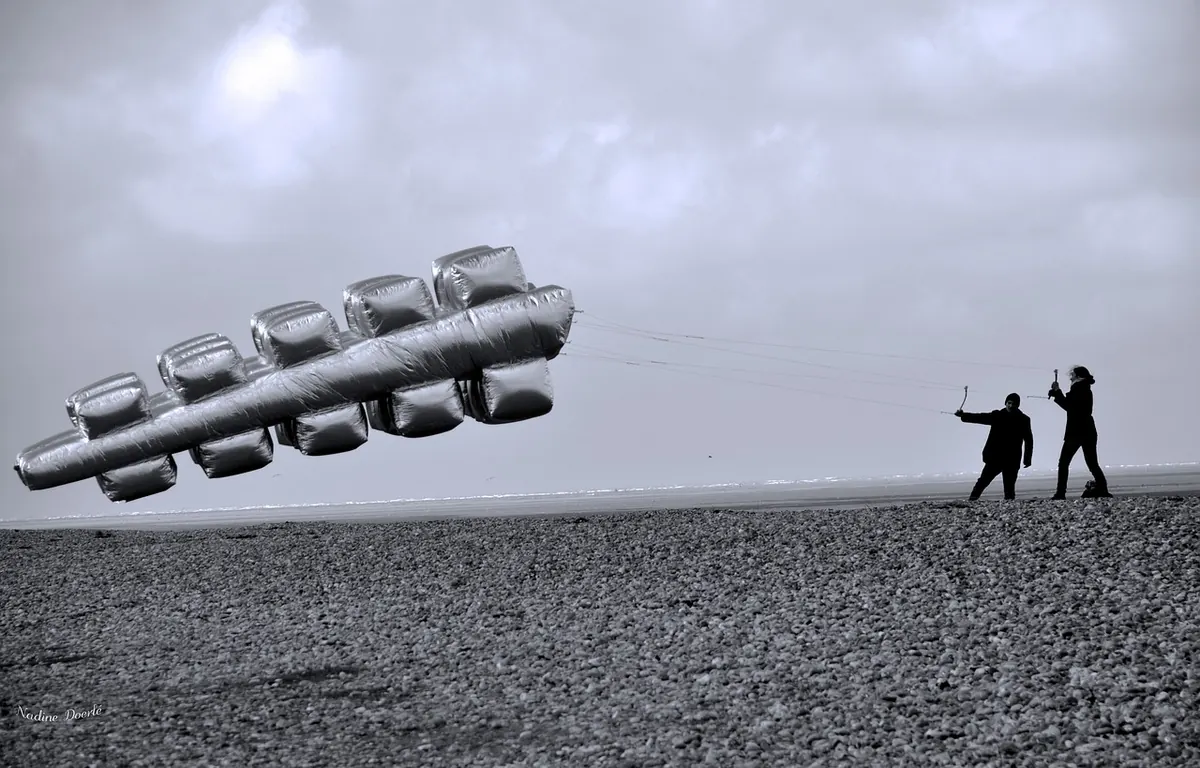
A kite is a simple thing: a couple of spars, a sheet of ripstop and a length of line. Getting it into the air and back down again without a tangle, a snap or a red face comes down to the order you do things in. These ten steps take you from the first look at the wind to a tidy landing, and they work whether you are flying a delta on the beach or a two-line sport kite on a playing field.
Steps 1 and 2: Read the Wind Before You Unpack
Wind is the whole game, so give it a minute before you touch the bag. Look for evidence: leaves stirring, a flag on a pole, smoke, long grass bending. Leaves rustling and small branches moving is a pleasant force 2 to 3, which suits most beginner kites. If whole trees are swaying and walking feels like work, come back another day.
Direction matters as much as strength, because you will launch with your back to the wind. Gusty, swirling air is what spoils first flights. Built-up areas, high hedges and big trees throw turbulence across the ground, so a wide open field or an empty beach is much kinder. Hold up a strip of ribbon or a handful of dry grass to check, and look at the air ten metres above you as well as at ground level — they are often different.
Steps 3 and 4: Pick Your Spot and Lay Everything Out
You want clear space around you, and plenty of it downwind. Stay well away from overhead power lines, roads, car parks, railway lines, airfields and crowds. Trees eat kites, dogs chase them, and toddlers walk into lines. In public parks and on beaches, check any local signs about kites, as some places restrict them.
Lay the kite face down with the tail pointing downwind, then walk the line out straight so it runs from kite to you without loops. A line laid out neatly saves ten minutes of untangling later. Never stand on it, and keep other people off it too.
Steps 5 and 6: Assemble and Run a Pre-Flight Check
Push the spars fully into their connectors — a spar that is only half home will pop out at the worst moment. Attach the bridle exactly as the instructions show, because it sets the kite's angle and a wrong connection makes for a miserable flight.
Before you launch, check:
- Line free of knots, nicks and tangles, wound neatly onto winder or handles.
- Spars seated, bridle correct, spreader in place if your kite has one.
- Tail or streamers attached for stability and visibility.
- Nobody standing downwind within line length, and no sharp stones where the kite will sit.
Put gloves on if your line is thicker than light cotton. A line under tension can cut, and a fast-running line burns. Experienced flyers never leave theirs at home.
Step 7: Launch with the Wind Behind the Kite
Stand with your back to the wind and hold the kite up in front of you, nose to the sky and the face turned towards you so the breeze pushes on it. Keep the line in one hand and let out a metre or two.
Then step backwards, slowly. The kite should fill and begin to rise. Let line out as it climbs, a little at a time, keeping just enough tension to hold it up. If it flops, walk back faster. If it pulls hard and dives, give it more line and let it settle.
A two-line kite needs a helper for your first attempts. They hold it at the edge of the wind window with both lines tight, and release as you step back. Solo launching is worth learning later, not mid-first-flight.
Steps 8 and 9: Control the Climb, Then Land on Purpose
Think of the sky in front of you as a window. Directly downwind and low to the ground is where the kite pulls hardest; the edges of the window and the sky overhead are gentler. Start in the gentle parts.
On a single-line kite, tension is your only control. A gentle tug adds tension and lifts the kite; slack lets it drift down. Small movements, made early, beat big corrections made late. On a two-line kite, pull the right line and it turns right, pull the left and it turns left, pull both evenly and it climbs. Keep your hands loose. Jerking the lines stalls the kite and drops it.
Landing is a skill, not an accident. Walk towards the kite while winding line in under light tension, and let it settle gently a few metres ahead of you rather than dropping from height, which cracks spars and frightens bystanders. Catch a kite by hand only when it hovers steadily at head height and you already know how it behaves.
Step 10: Pack Up So Tomorrow Is Easy
Wind the line back onto its winder under light tension — loose line on a breezy beach becomes a bird's nest. Remove the tail, take out the spars, and lay the kite flat before folding it along its seams. Check the bridle and line for wear while they are in your hands; a frayed line is the last thing you want to find at height.
Never leave a kite flying unattended, and never stake out a line where people or animals could run into it.
The Safest Habit of All
Two rules cover most of what can go wrong. Keep the sky and the line clear: no flying over people, roads, animals, or anywhere near power lines. If a kite does drift towards overhead lines, let go of the line, walk away and do not touch it — contact the network operator's emergency number instead. And if the wind builds beyond what you or the kite can handle, land it early rather than waiting to see what happens.
Ten minutes of preparation buys an afternoon of easy flying. Go out in a steady breeze, keep the first session short, and finish while you are still enjoying it. Everything after that — figure eights, long tails arcing over a beach, your first trick turn — grows from the same handful of habits you have just practised.
Photo: NadineDoerle / Pixabay